Connect Custom HTTP Tools to Your AI Agent
Register APIs and external services as tools your AI agents can call during workflows.
Connecting Custom HTTP Tools to Your AI Agent
AI agents become infinitely more powerful when they can interact with the outside world. In Pipecat, you can easily connect your own custom HTTP APIs and allow your Language Models (LLMs) to call them during a workflow.
Whether you want to fetch weather data, trigger an internal webhook, or query your database, custom HTTP tools make it possible without writing backend orchestration code.
In this tutorial, we will learn how to create and configure custom HTTP tools and attach them to your AI nodes.
Method 1: Creating Tools from the Dashboard
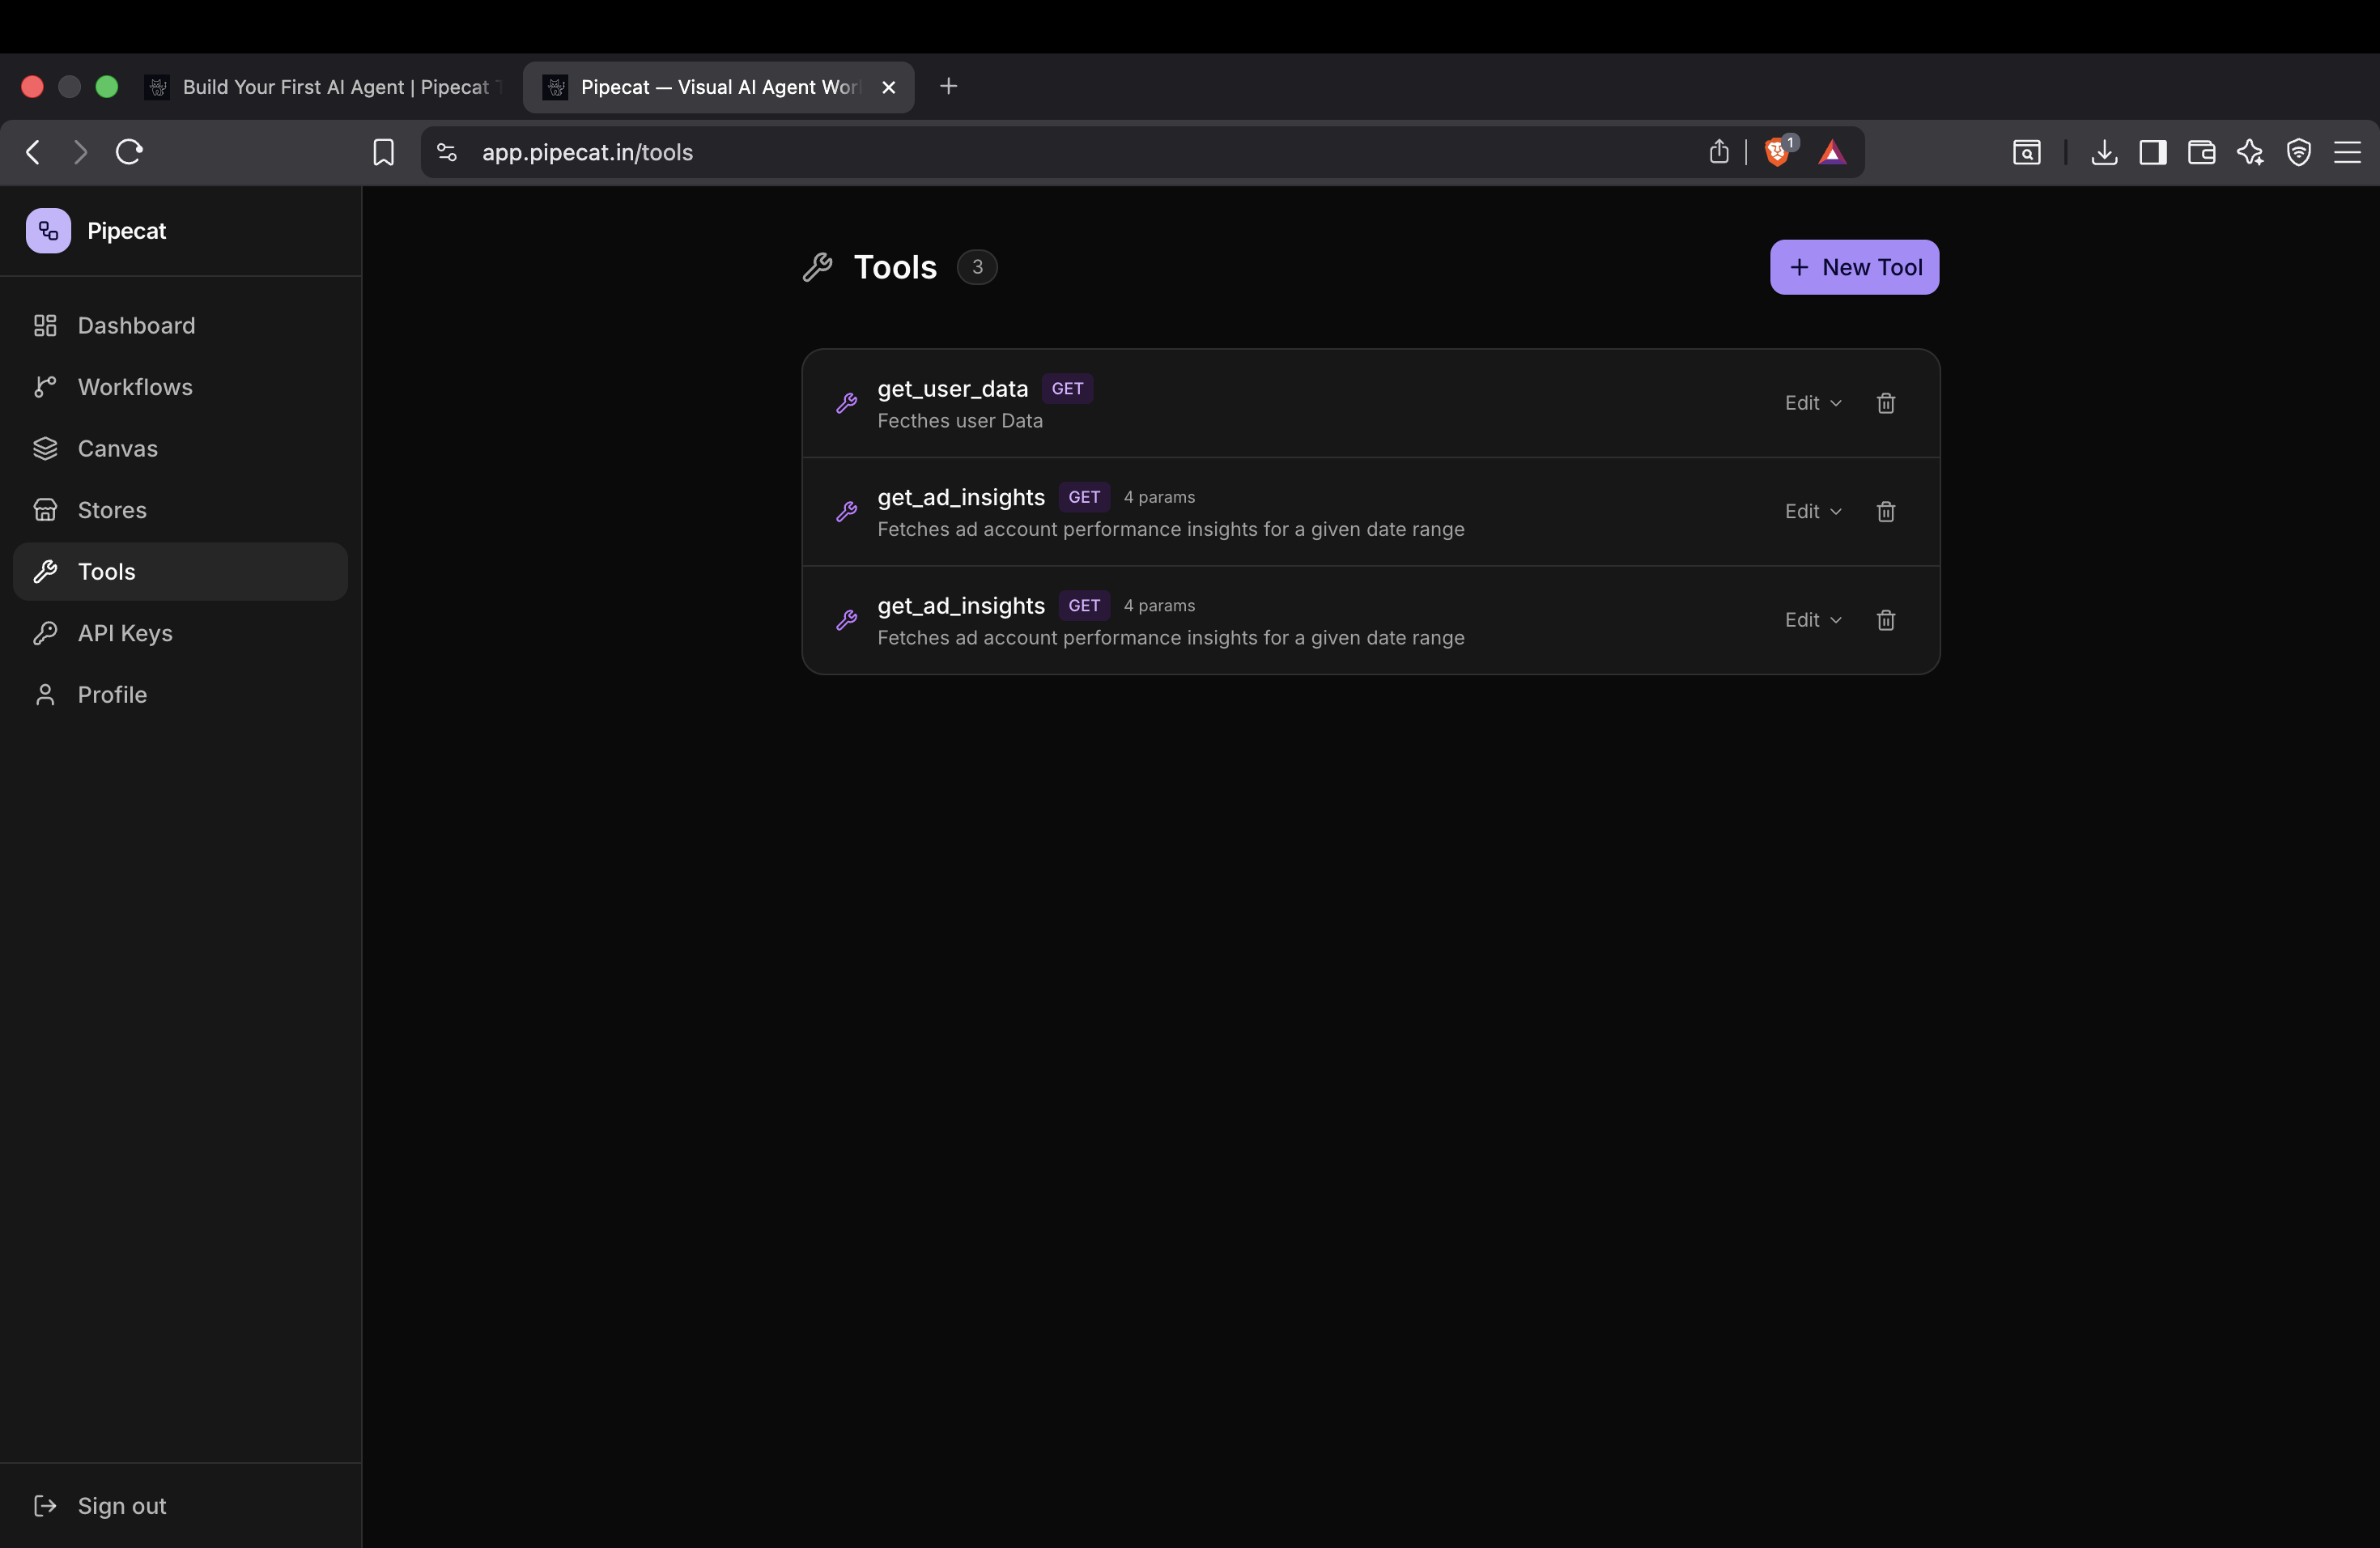
The easiest way to manage your custom APIs is through the dedicated Tools Tab.
Step 1: Open the Tools Tab
Navigate to the Tools section in your dashboard. Here, you'll see a list of all your registered tools. Click on the Create New Tool button to get started.
Step 2: Define Tool Metadata
To allow the LLM to understand what your tool does and when it should invoke it, you need to provide clear metadata.
- Name: A descriptive, lowercase name (e.g.,
get_weather,create_user_ticket). - Description: This is the most crucial part! Write a clear prompt-like description. The LLM reads this description to decide if it should trigger the tool.
[!IMPORTANT] The better your description, the more accurately the LLM will decide when to use your tool. Be specific about the tool's purpose and its expected output.
Step 3: Configure HTTP Settings
Next, configure the technical details of the API request:
- Method: Choose the appropriate HTTP method (
GET,POST,PUT,DELETE, etc.). - URL: Provide the endpoint URL the tool will hit.
- Headers: Add any required headers, such as
Authorization: Bearer <token>orContent-Type: application/json.
[!NOTE] Security First: You don't need to worry about exposing sensitive API keys. All header details and tokens are securely encrypted before being stored in our database.
Step 4: Define Parameters
Parameters tell the LLM what data it needs to extract from the user's prompt to successfully call your API.
For each parameter, define:
- Parameter Name: The exact key your API expects (e.g.,
location,ticket_id). - Type: The data type (e.g.,
string,number,boolean). - Description: Instructions for the LLM on how to populate this field (e.g., "The city name, inferred from the user's message").
Save your tool, and it will now be available across all your workflows!
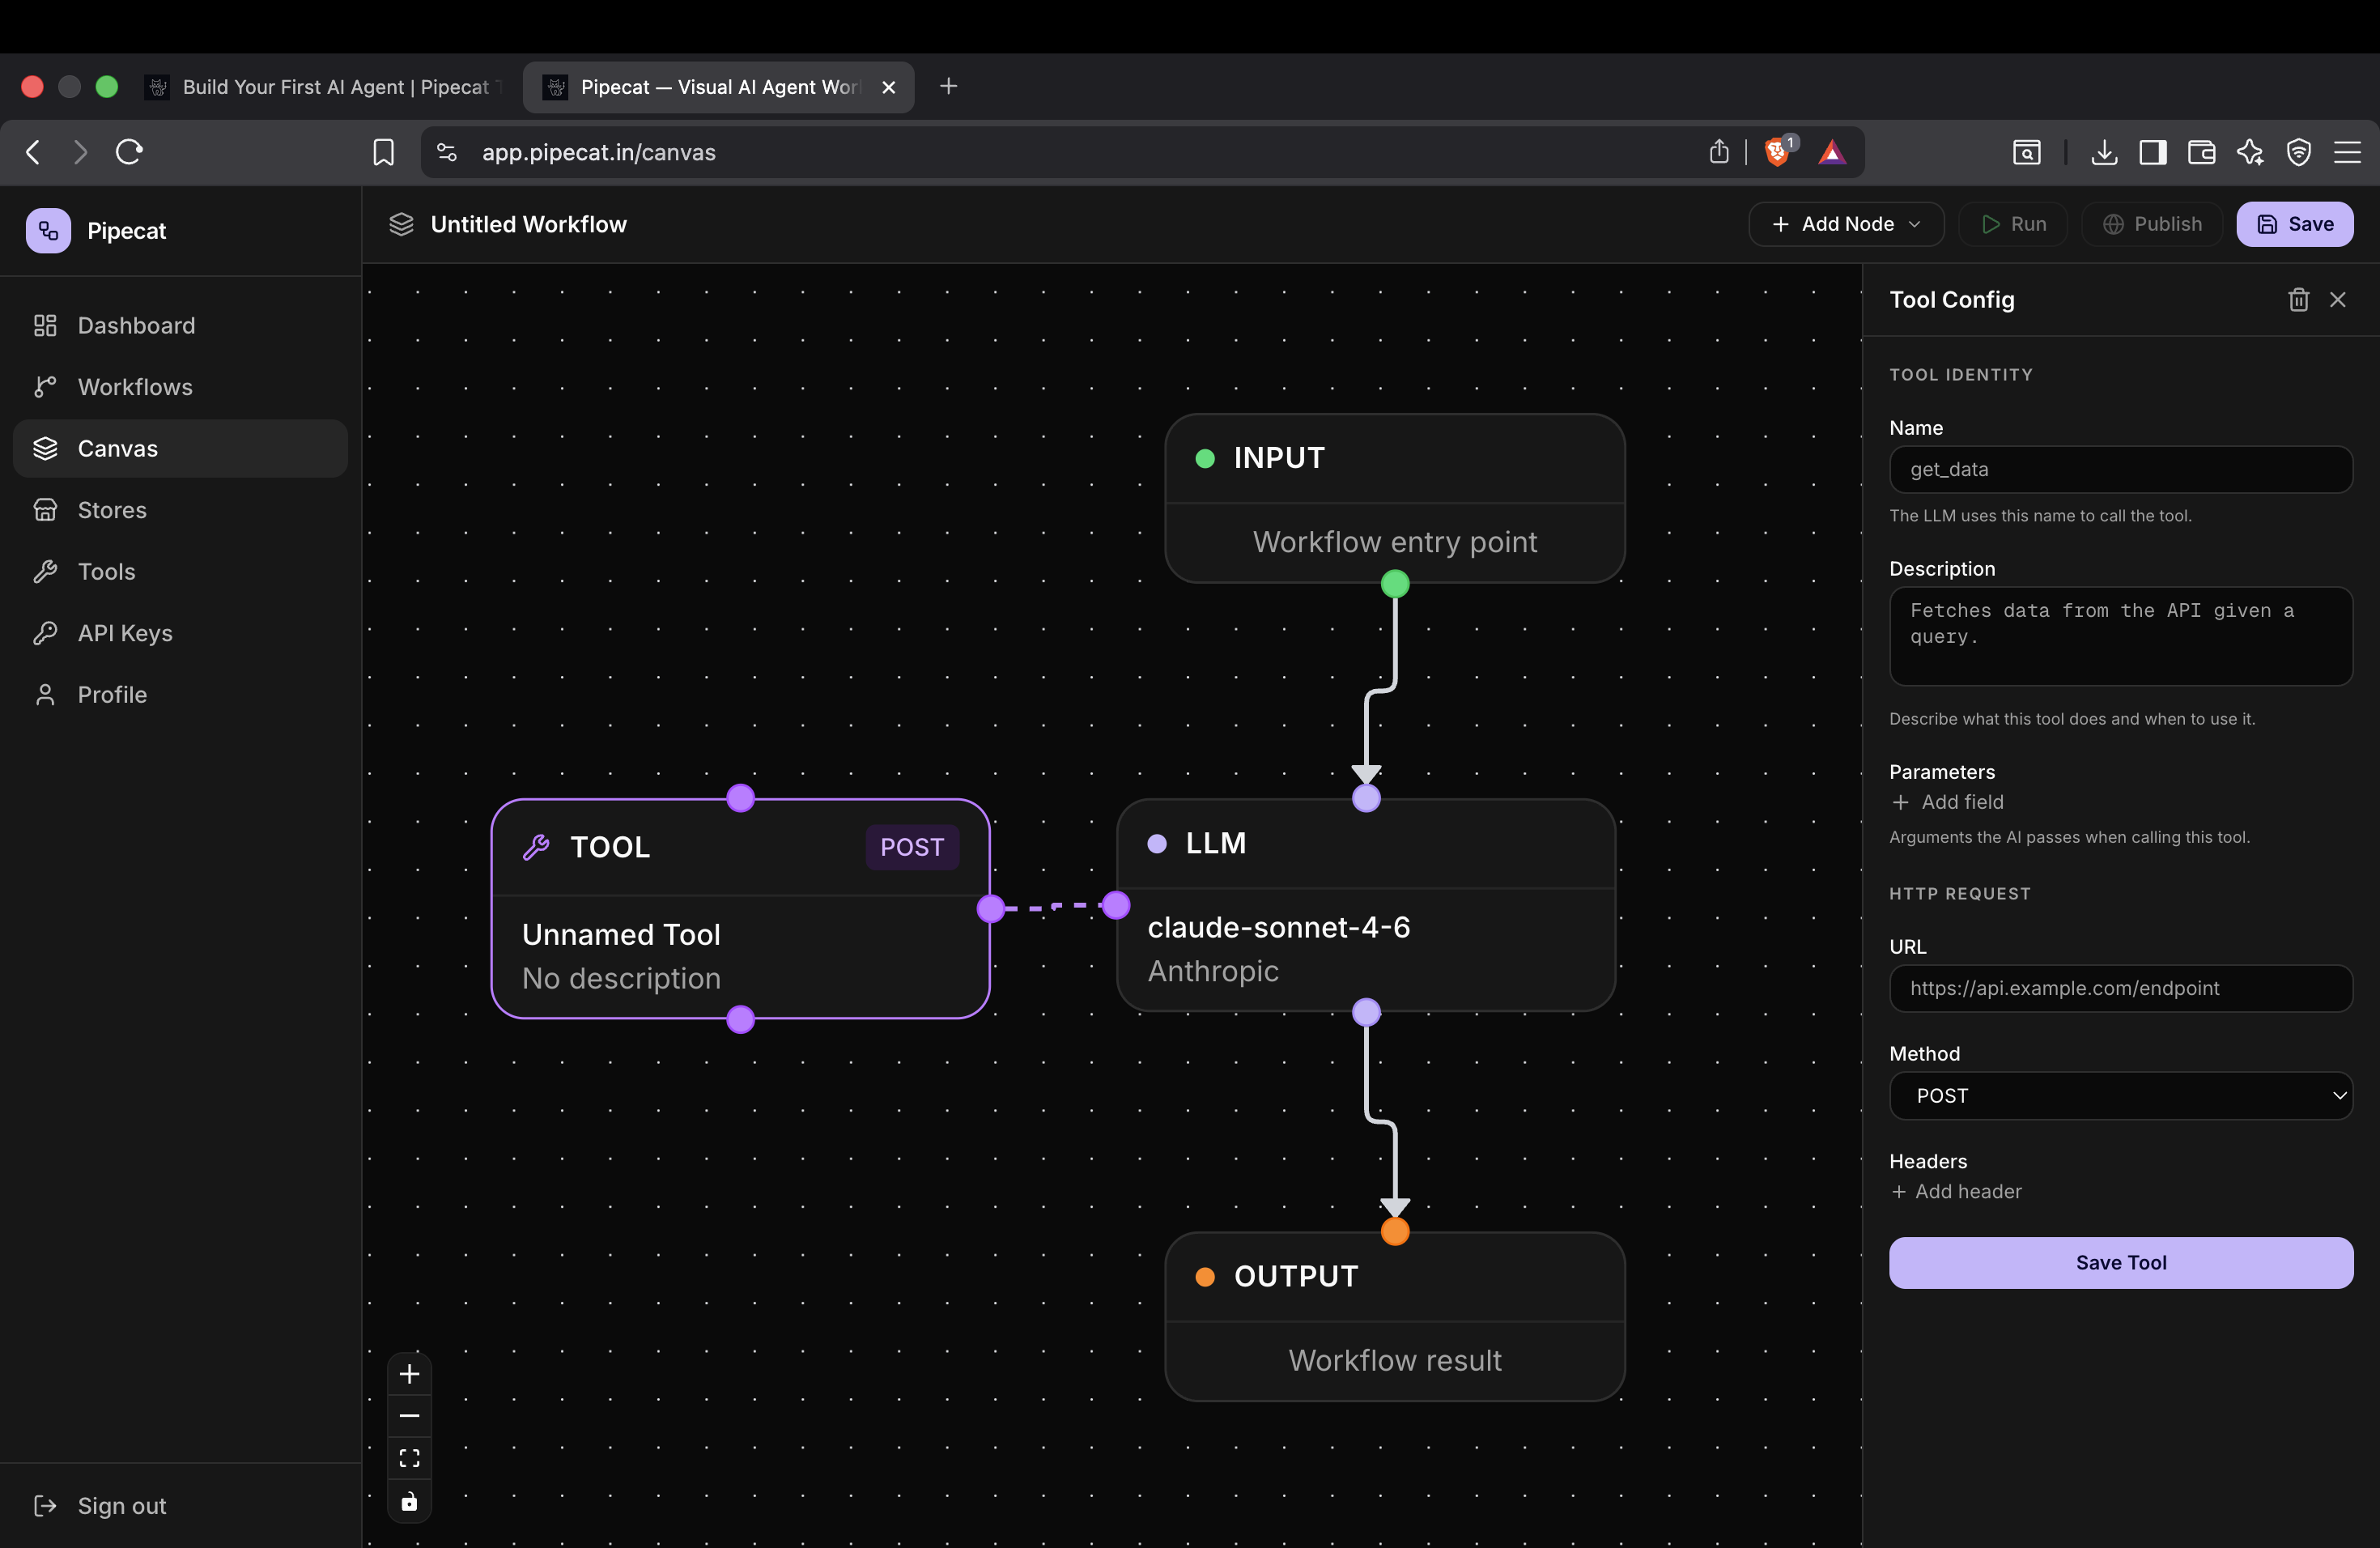
Method 2: Creating Tools Directly in the Canvas
You can also create tools on the fly without leaving your visual workflow builder.
- Inside your workflow canvas, click Add New Node.
- Select Tool Node.
- The Tool Configuration Sidebar will open on the right-hand side.
- From here, you can follow the exact same steps as above—defining the name, description, method, headers, and parameters.
This method is perfect for rapidly prototyping workflows without context switching.
Next Steps
Now that you've connected your custom HTTP tools, your AI agents can perform real-world actions. Try creating a workflow that chains multiple tools together, passing the output of one tool as the input to the next LLM node!
Next Tutorial
Continue learning with: